Preferred services
Preferred services
Offer preferred delivery options named "Wunschzustellung" enabling your customers to select preferred day and preferred location for delivery. If the customer enters his home address and a preferred location or neighbor, the parcel can be delivered in his absence (Attention: This requires your store to support Shopify CarrierService API - this is supported only by specific Shopify plans!)
Some features require the Shopify CarrierService API. The CarrierService API can be booked in the Shopify plan, but this is associated with additional costs. The CarrierService API is automatically included in the Advanced Plan and Shopify Plus Plan.
With the Basic Plan, no CarrierService API can be booked in addition; you can only increase the plan.
To increase a plan or to book the service additionally, please contact support@shopify.com .
Click on Apps, next on Post & DHL Shipping. Now you are on the Dashboard, click on DHL Paket. Under the item Preferred services you will find all the settings listed below.
-
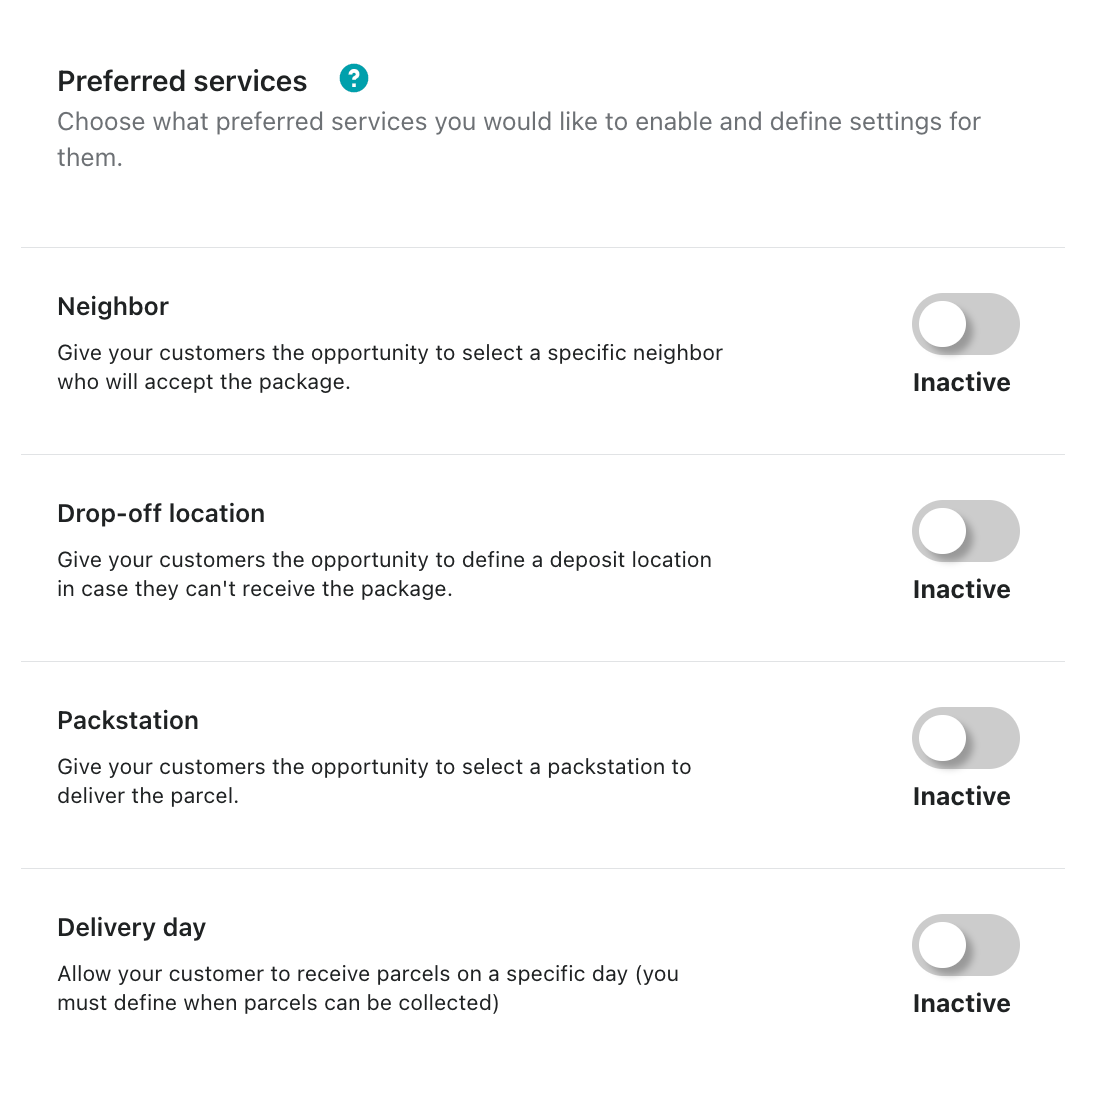
To activate the preferred services, please click on Inactive, to activate these, the rates at the checkout are required. (To enter Packstation via the Shopify address input, this is not necessary).
-
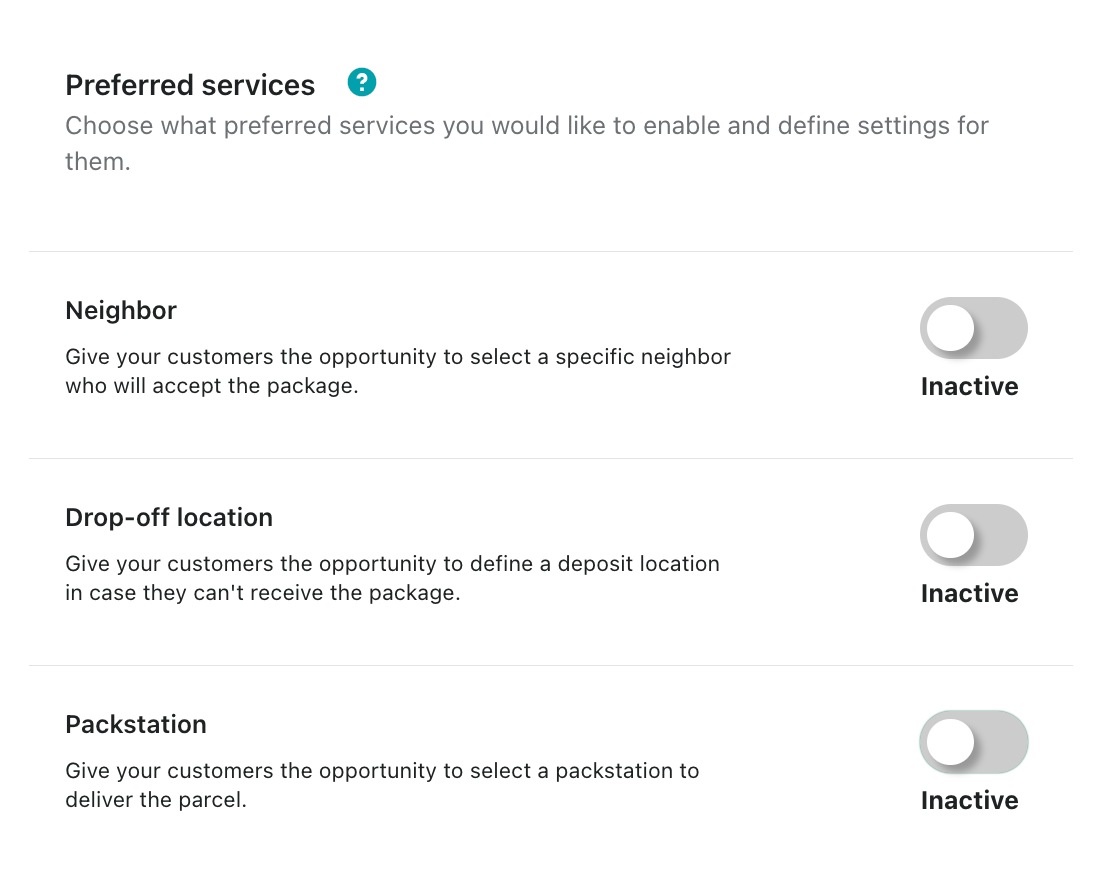
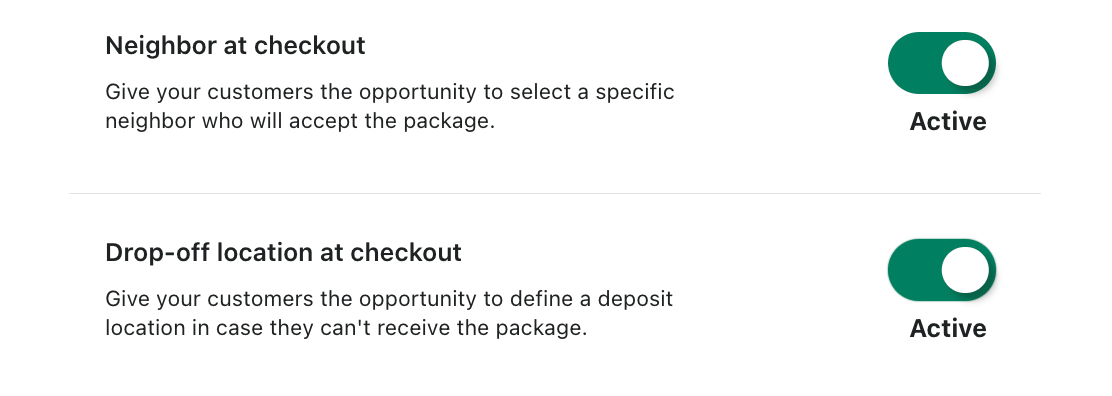
With Neighbor you give your customers the opportunity to select a specific neighbor who will accept the parcel, for customers who can not receive the package itself.
-
With the Drop-off location function, your customers can define a deposit location where the parcel service can deposit the items if your customers are unable to receive them themselves.
-
Packstation with this function your customers can select a Packstation to which the parcel is to delivered.
-
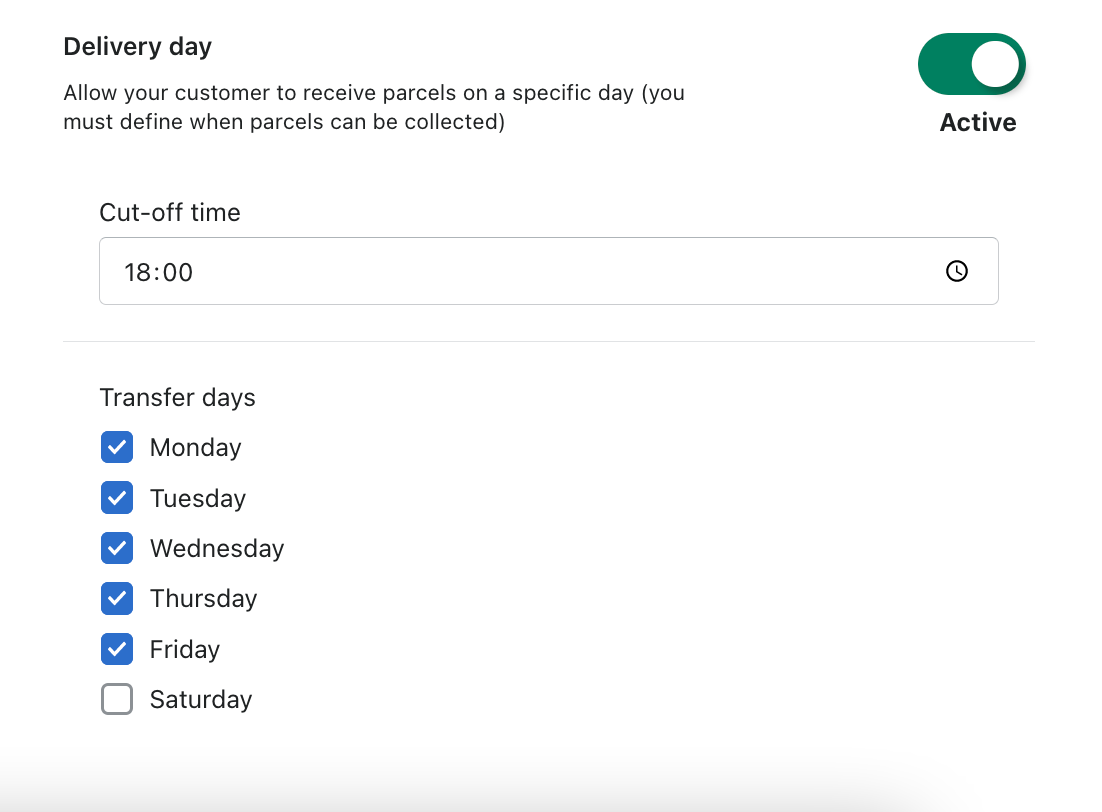
The Delivery day allows your customers to receive their parcels on a specific day. To do this, however, you must define exact days and times when your parcels can be collected. (In our example, every weekday at 6:00 p.m.)
Capture Packstation via Shopify
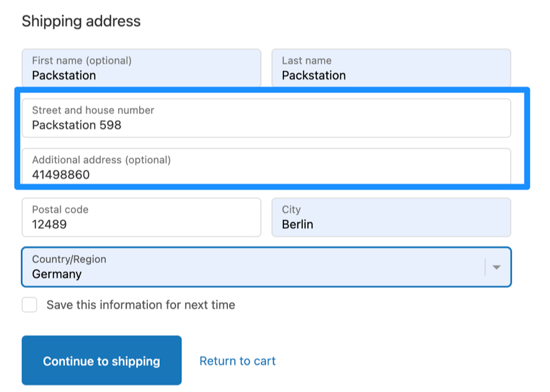
To ensure that you enter the Packstation correctly in the address field, please follow these points:
In the field Street and house number: please enter the Packstation + number, for example Packstation 598, Packstation you must also enter if it is a Post Office branch, etc.
In the field Additional address: please enter the post office number, for example 1234567890.

From the customer's point of view, it looks like this:
Rates at checkout
Please select Rates at checkout on the right menu bar to access these settings.
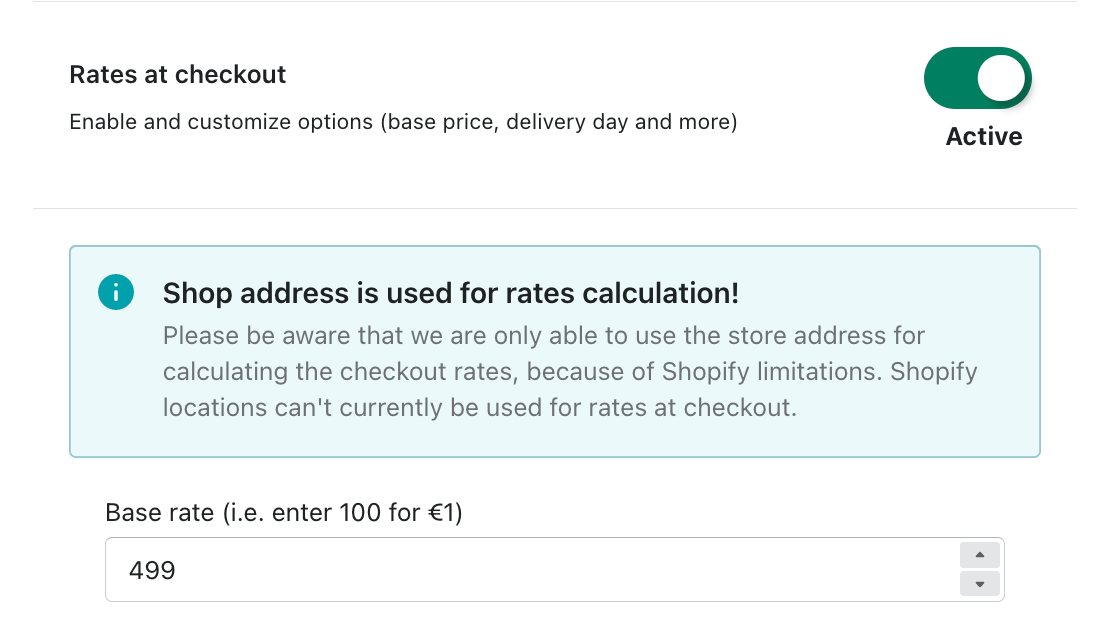
- If you activate this function, you can define the base rate for your packages.
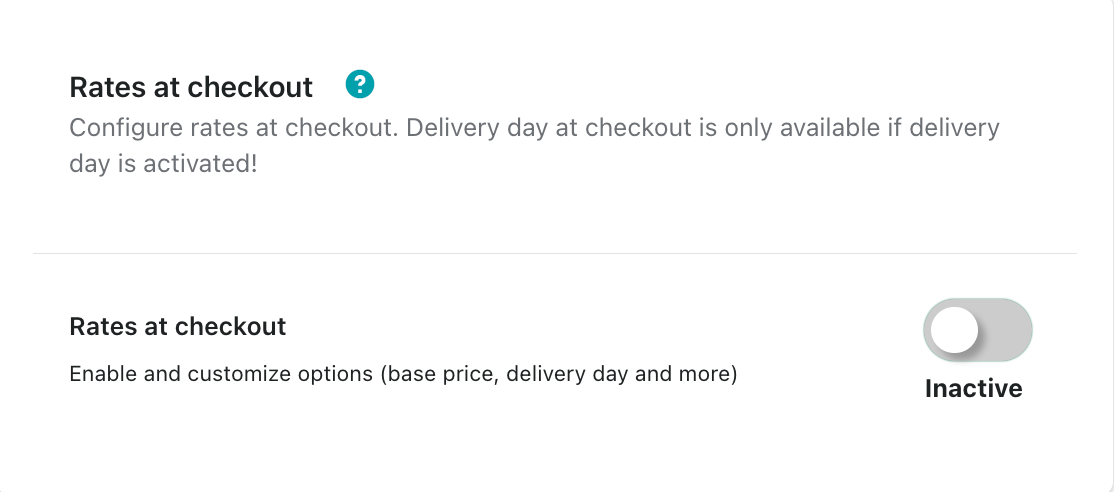 (In our example 4,99€ in the writing 100 for 1€ so 499.)
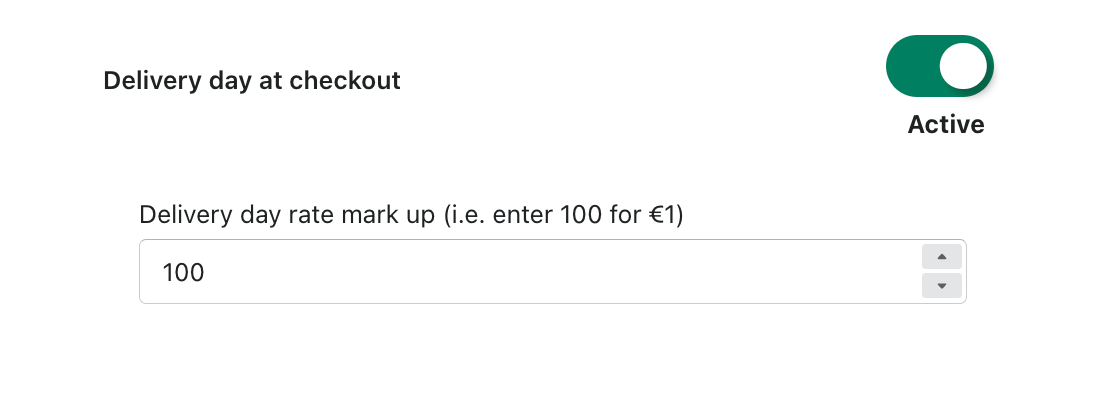
- You can now also define a surcharge for the Delivery day here.
(In our example 1€ so 100.)
- Furthermore you have the possibility to activate Neighbor and Drop-off location.
- If you activate Checkout rates display name, you can define it yourself in the additional field.

- If you have changed this, the view in the checkout now looks like this:

Do not forget to save all changed settings.
With the Post & DHL Shipping App you can define only this one price. The app does not provide calculated prices. However, you can define the calculated prices via the Shopify settings. You can find detailed instructions here.
With Post & DHL Shipping you can define only this one price. The app does not provide calculated prices. However, you can define the calculated prices via the Shopify settings. You can find detailed instructions
Label creation with preferred services
The desired services which the customer has selected in the checkout are automatically taken over and displayed. If you change them here, the customer's selection will be overwritten!
- If you have enabled these functions, the label creation will look like the example below.
 2.Here you have the option of selecting the enabled preferred services

- If a customer has selected a Delivery day, you will see this when creating the label.

- You also have the option of selecting a Packstation for delivery.
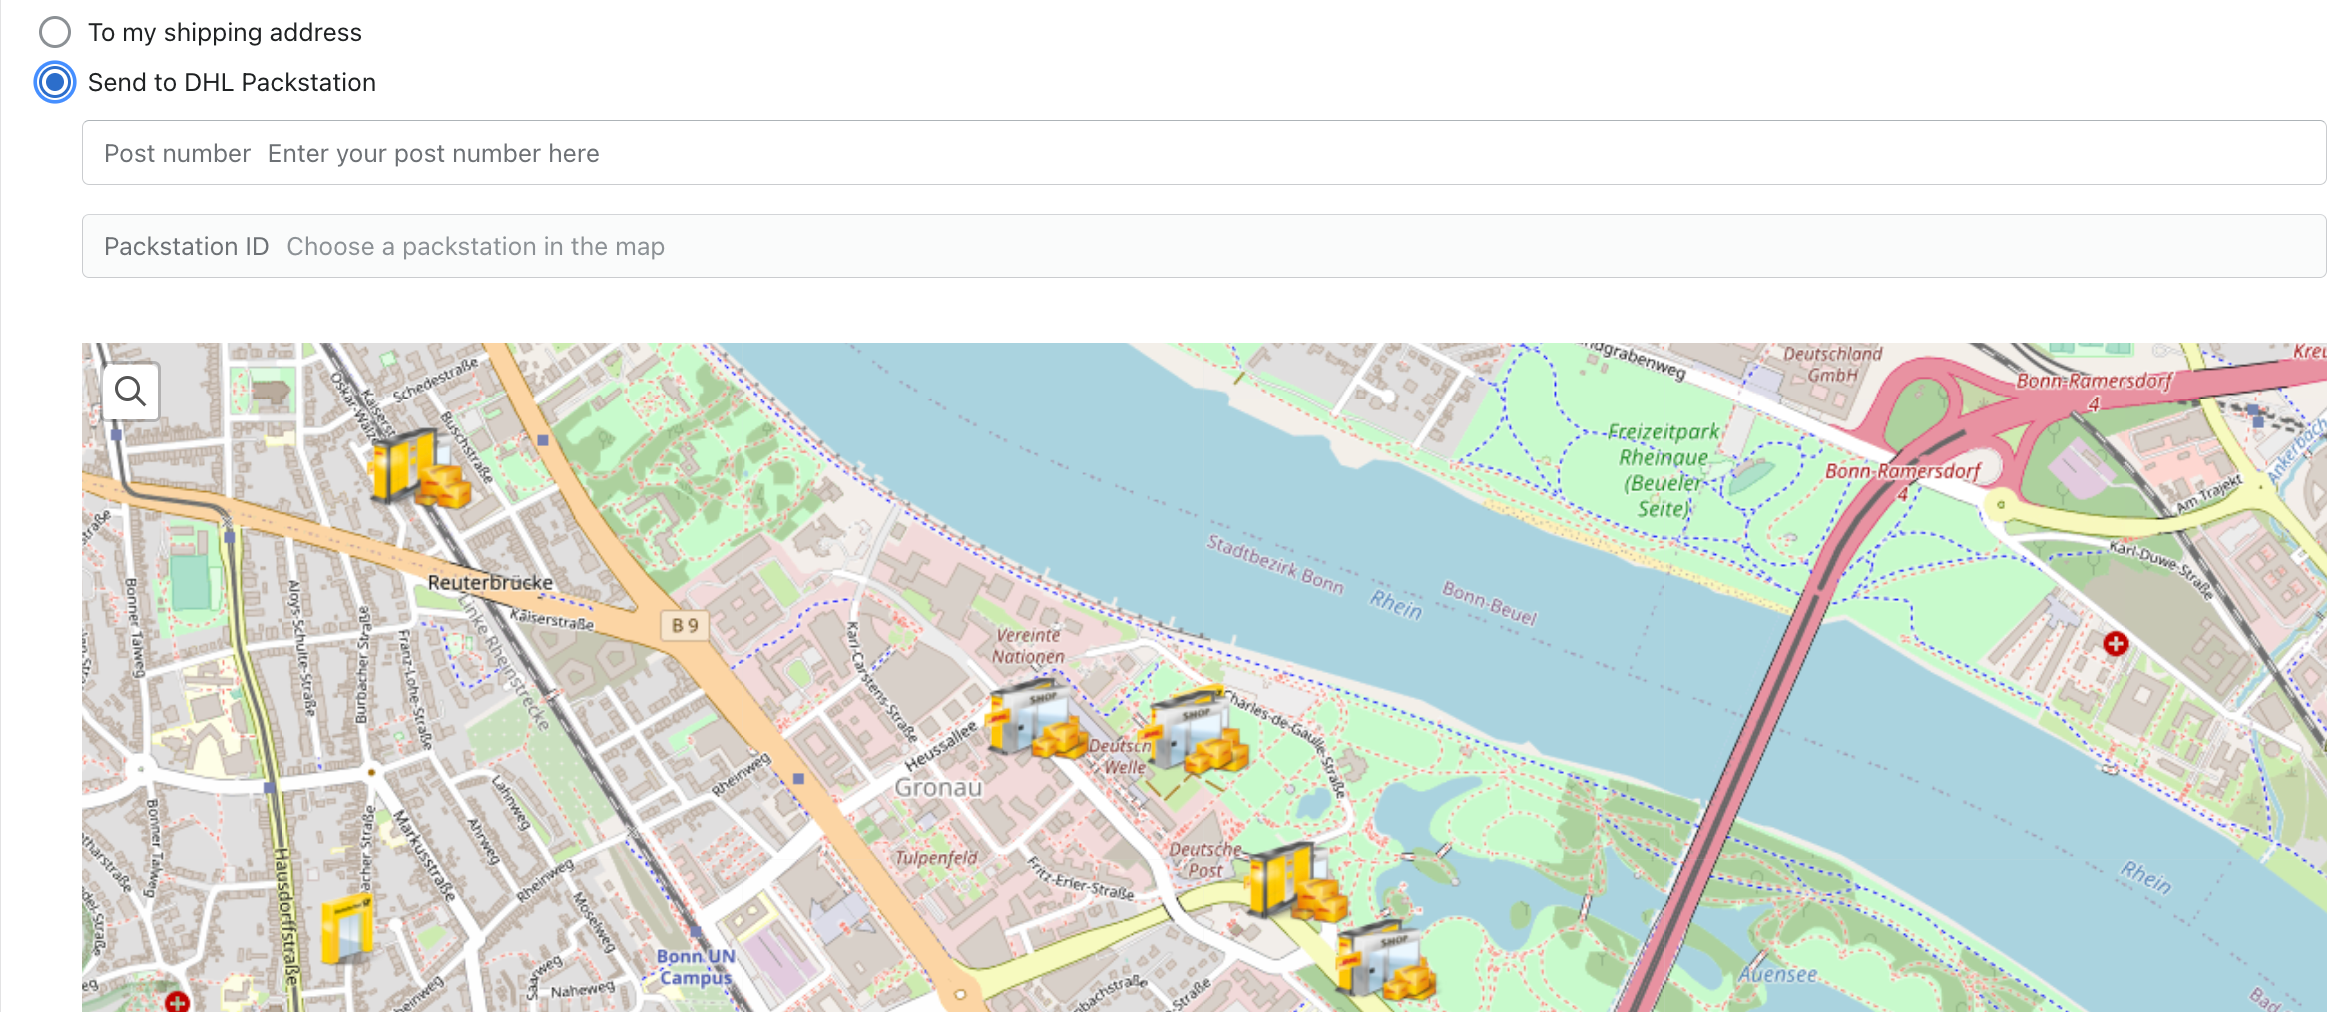
You can see what the customer sees in the chapter Customer order view.