Create Bulk Labels
-
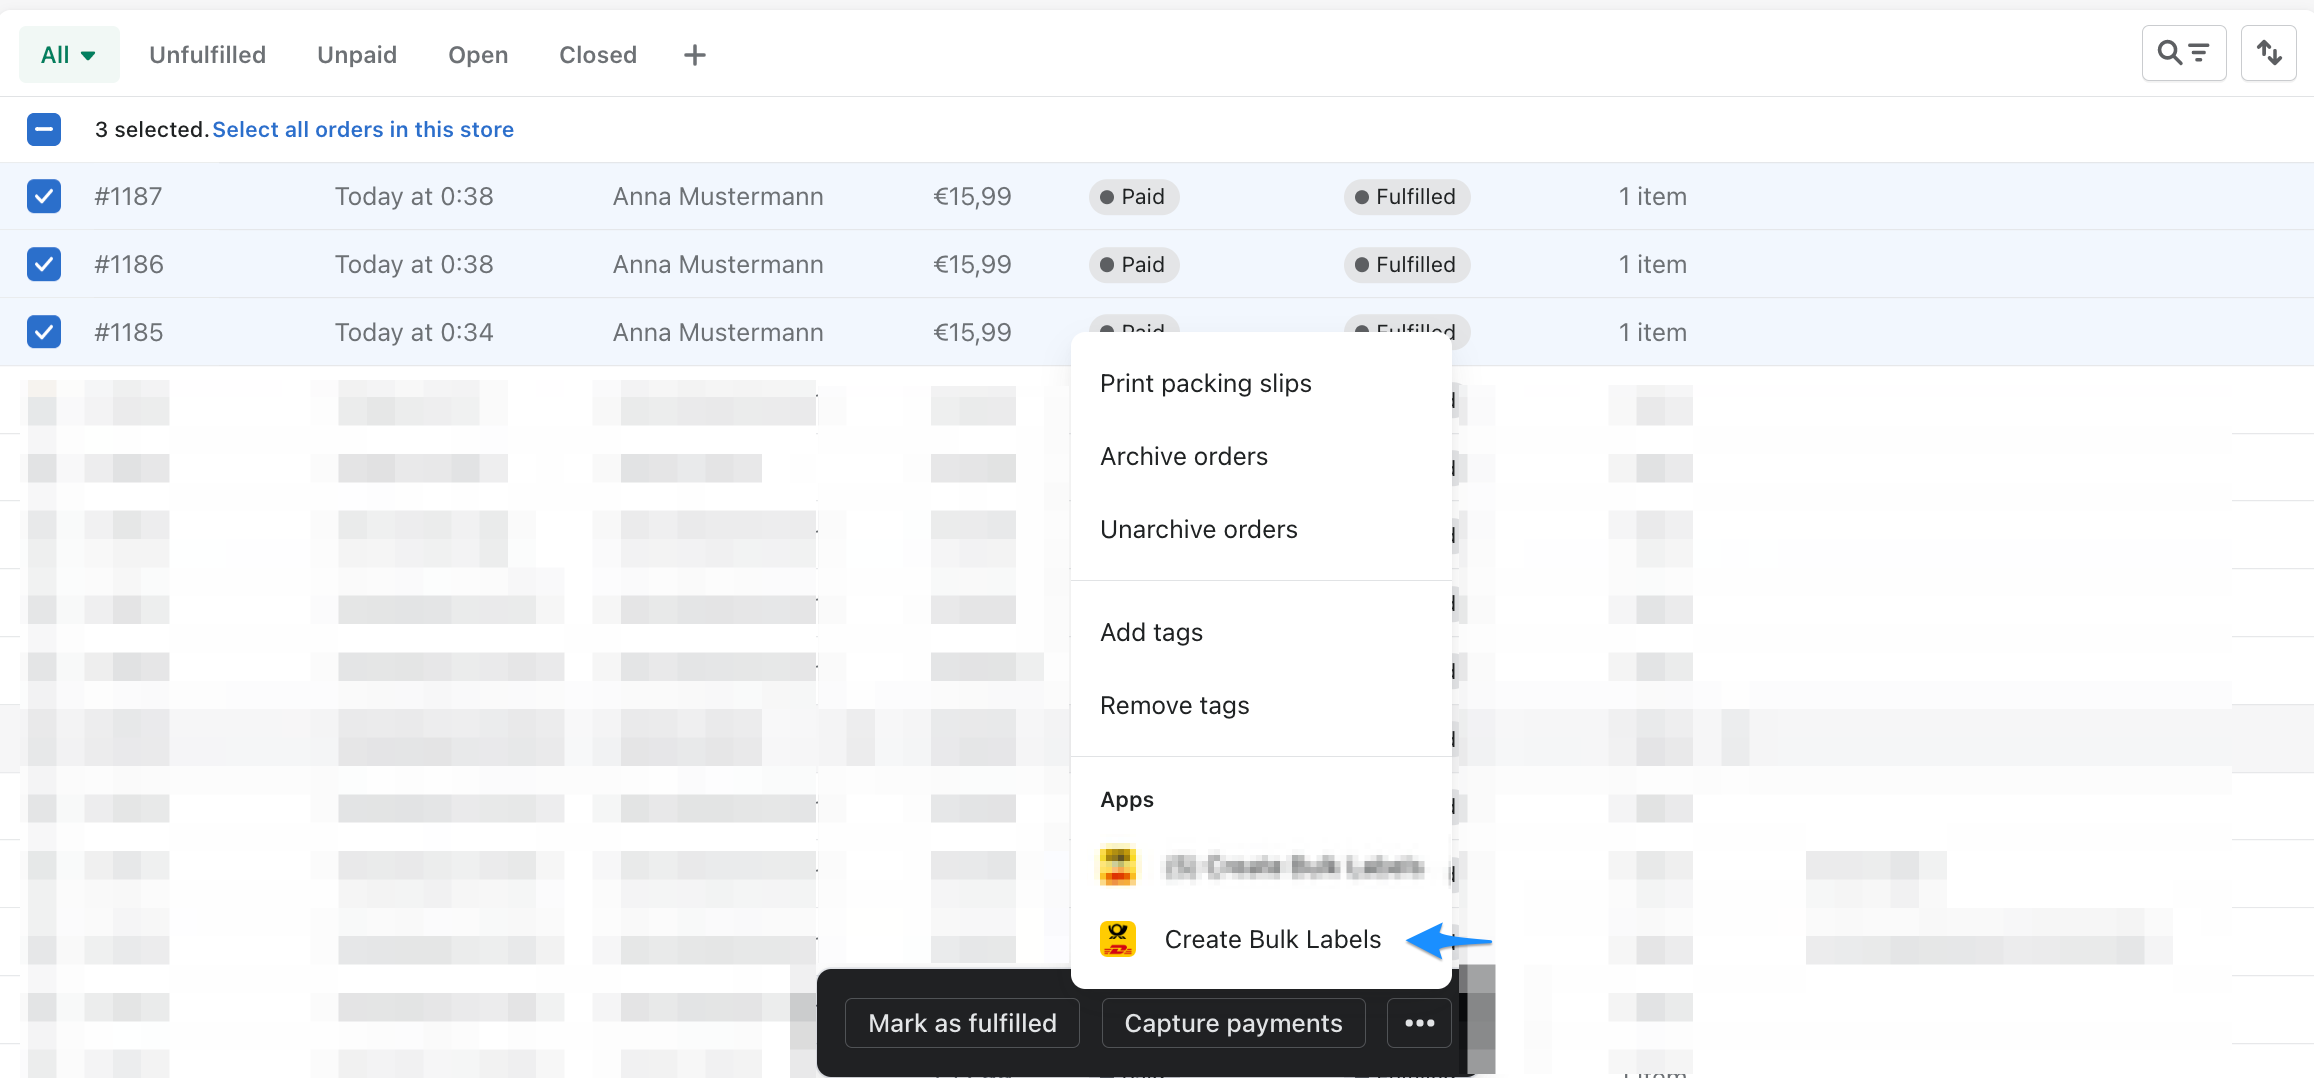
To create multiple shipping labels you have to open the Orders view in Shopify.
-
Select all Orders that already have a Fulfillment and for which you want to create a shipping label(s). (in our example
#1185,#1186and#1187) Next, click "..." in the table title bar and then click Create Bulk Label from the list.

-
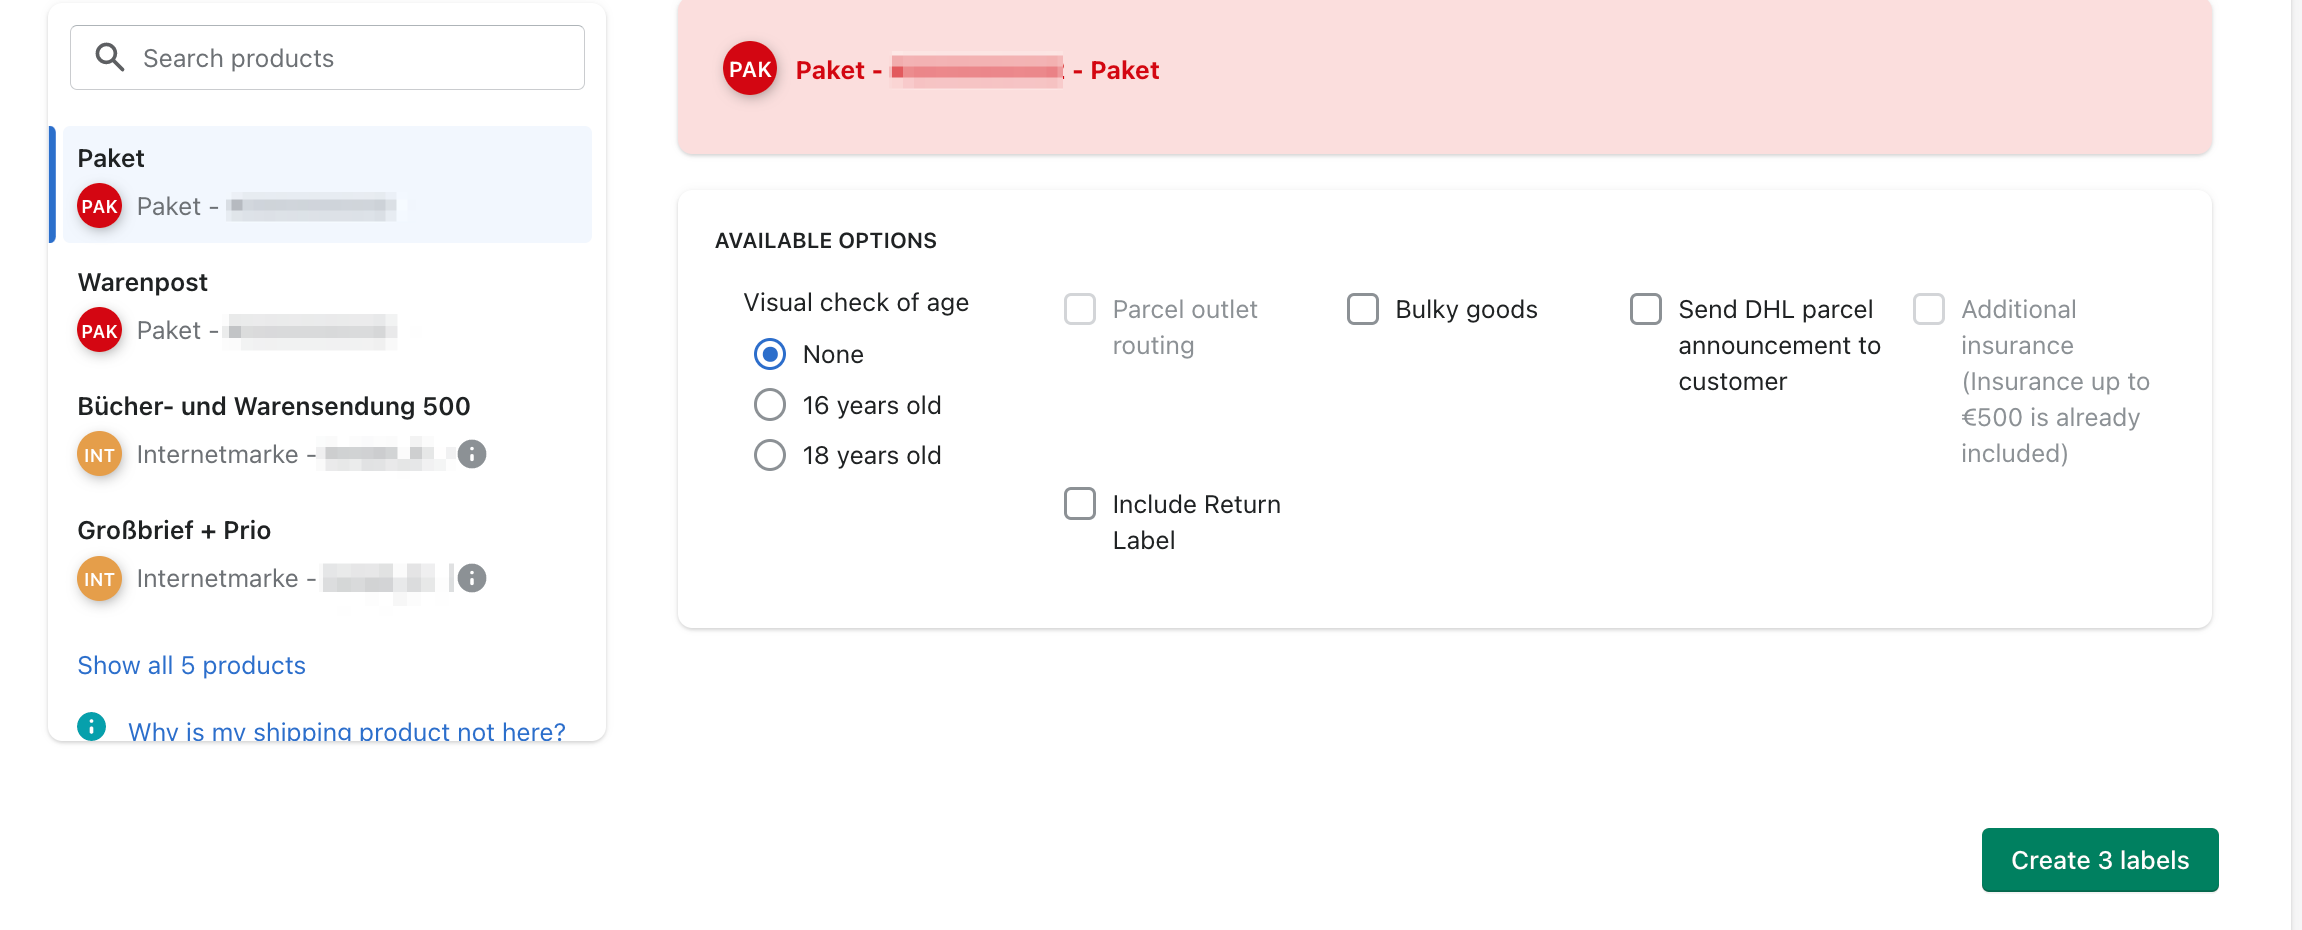
Now you are on the creation page of multiple shipping labels. First, select the product you want to use for shipping (in our case
Paket-...). Then click on Create (X) Labels to create the corresponding shipping labels. (the(X)is the number of shipping labels that can be created)
- If you open the Drop-Down of the products, you choose from the DHL products that are available and activated for these deliveries. (in our example,
PaketorWarenpost)- The second last column shows, visually in the form of a traffic light, whether a shipping label can be generated for this Fulfillment.
- In the column Label we see the status of the Fulfillment (in our case
Ready).
- Now the shipping labels will be created, this can take a few seconds, if the process is completed the display should change as shown below. You can print the created shipping labels one by one, all at once or save them as PDF. To print/save them individually, click on the corresponding icon in the Label column. To print/save all at once, use the two options at the bottom of the view.

Once you have created a label for your customer's order, the tracking number is automatically added to Shopify Fulfillment and sent to the customer, only if the product includes tracking.
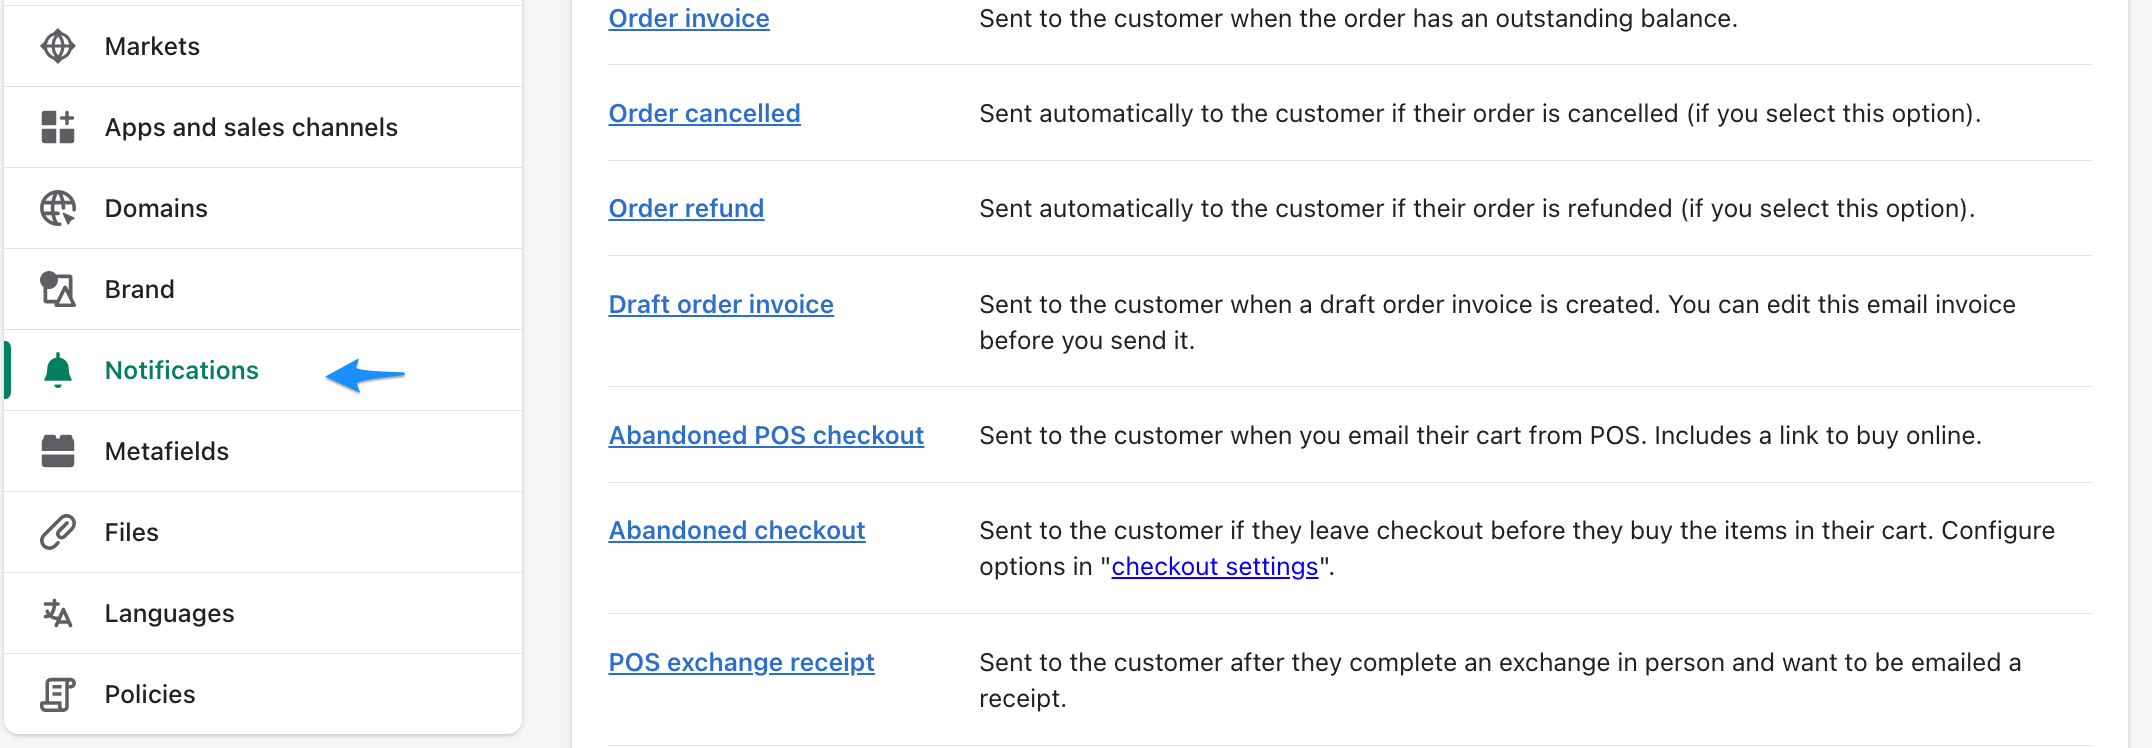
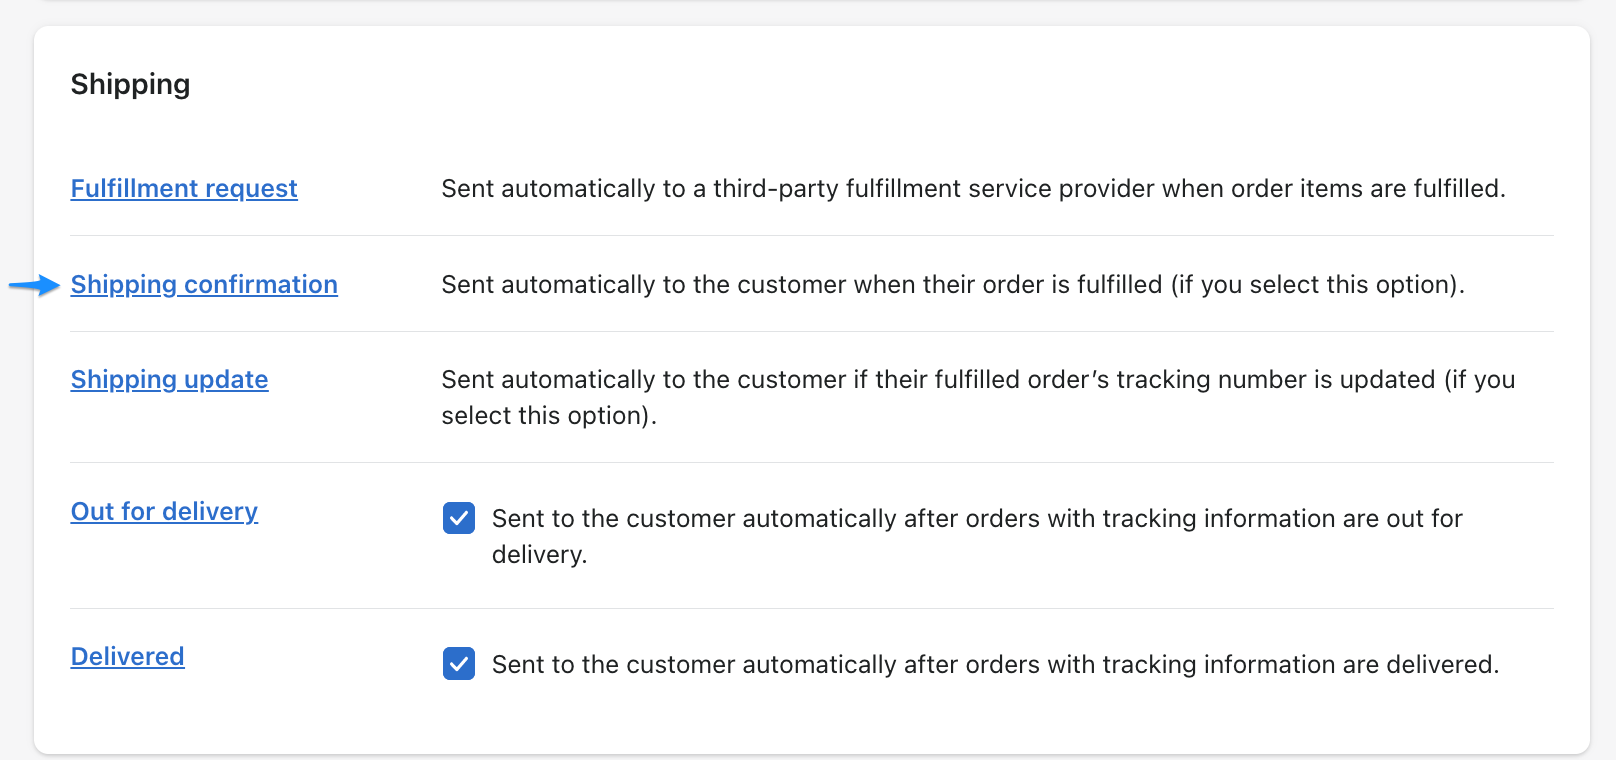
You can see exactly what this looks like in the Shopify settings under: Shopify --> Settings --> Notification --> Shipping Confirmation.
Click on Settings, then go further to Notifications.
 The point Shipping confirmations shows you the email which will send to your customer.

