Paket - Return section
Setup Return
Before you can enable the return, you have to add it to the Participations. We have described this in more detail in the chapter Participations. Otherwise, the return settings will not be displayed.
- At first click on Apps and open Post & DHL Shipping.
- On the right site you can see DHL Accounts and click on DHL Paket.
- Please select Return labels on the right menu bar to get to the return settings.
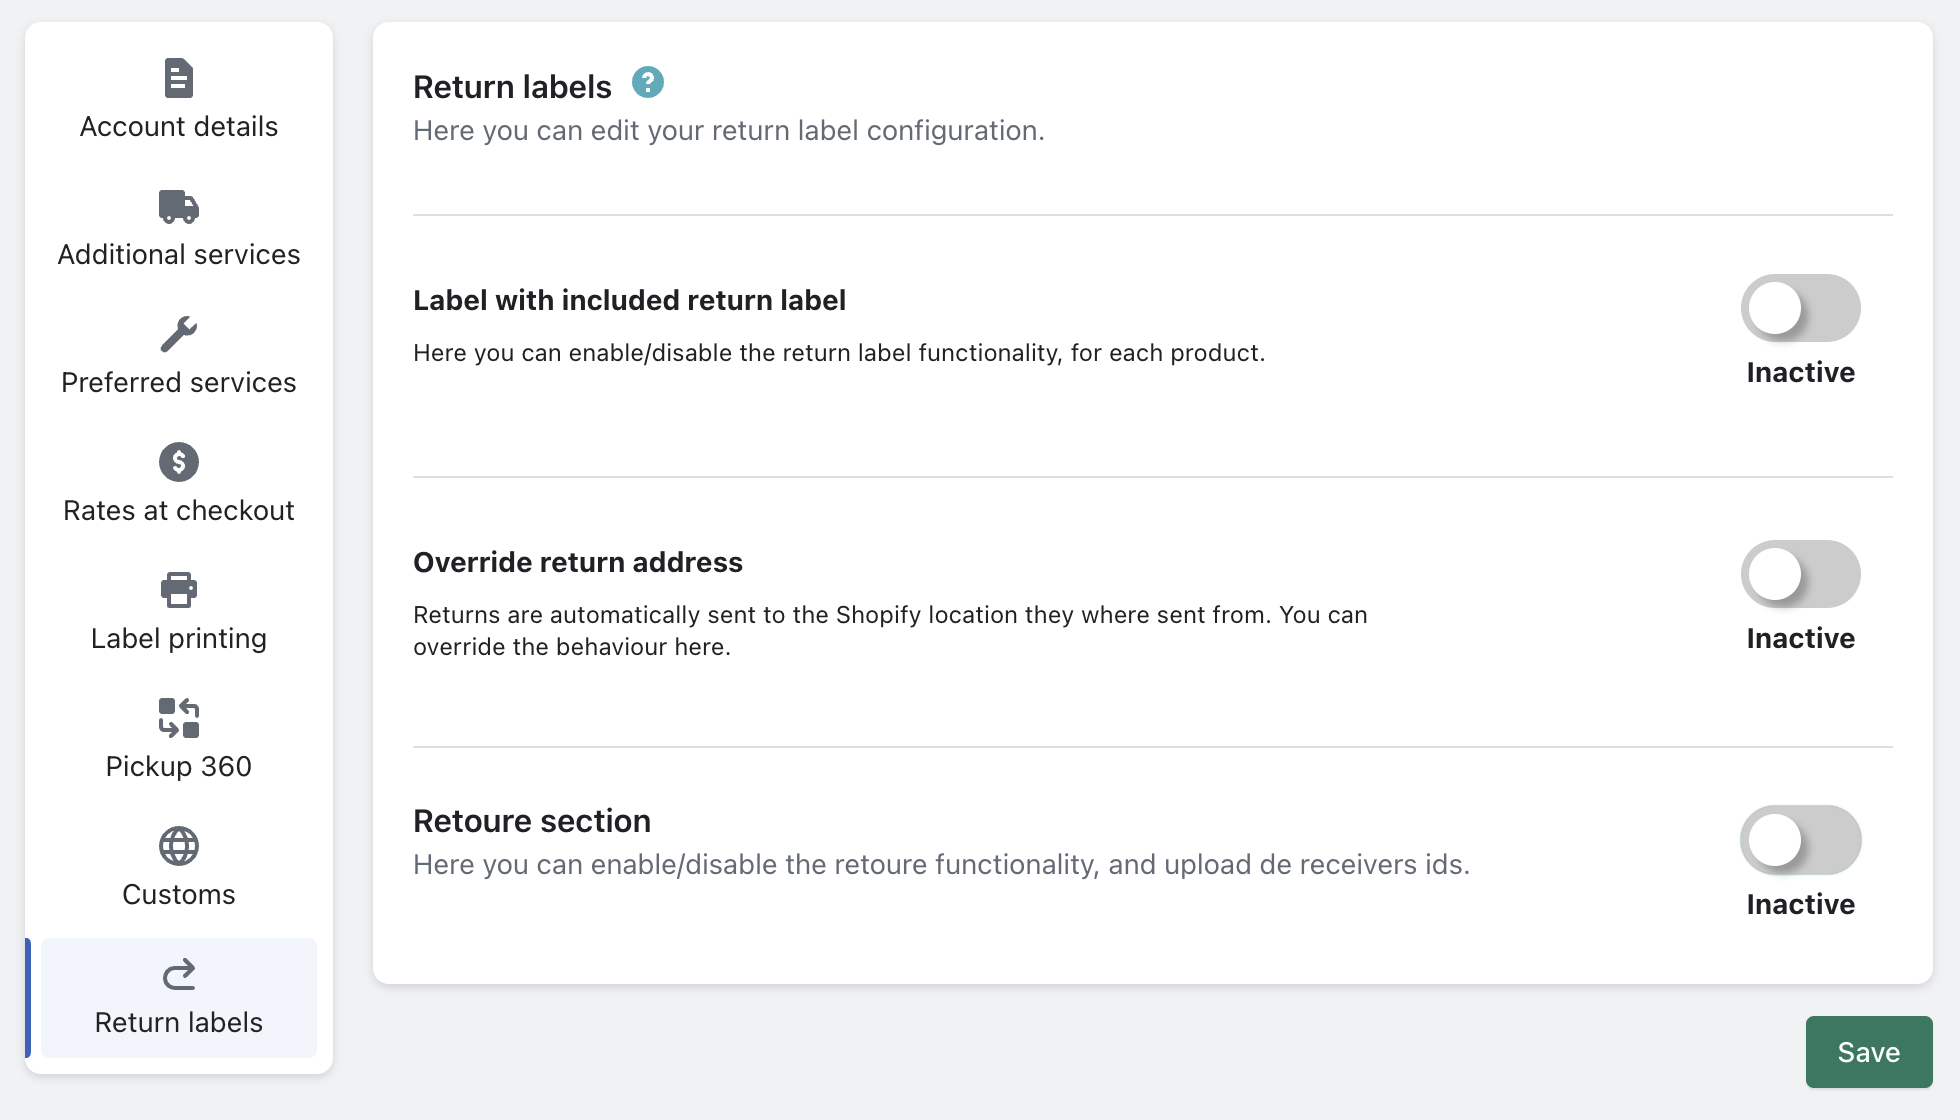
- Return Section this function is for the case, when you want to create a return label for a customer retrospectively.

- Click on the button above Inactive to enable the manual return.
- Now select the products for which the manual return should be available. Only the available products will be offered for selection here.
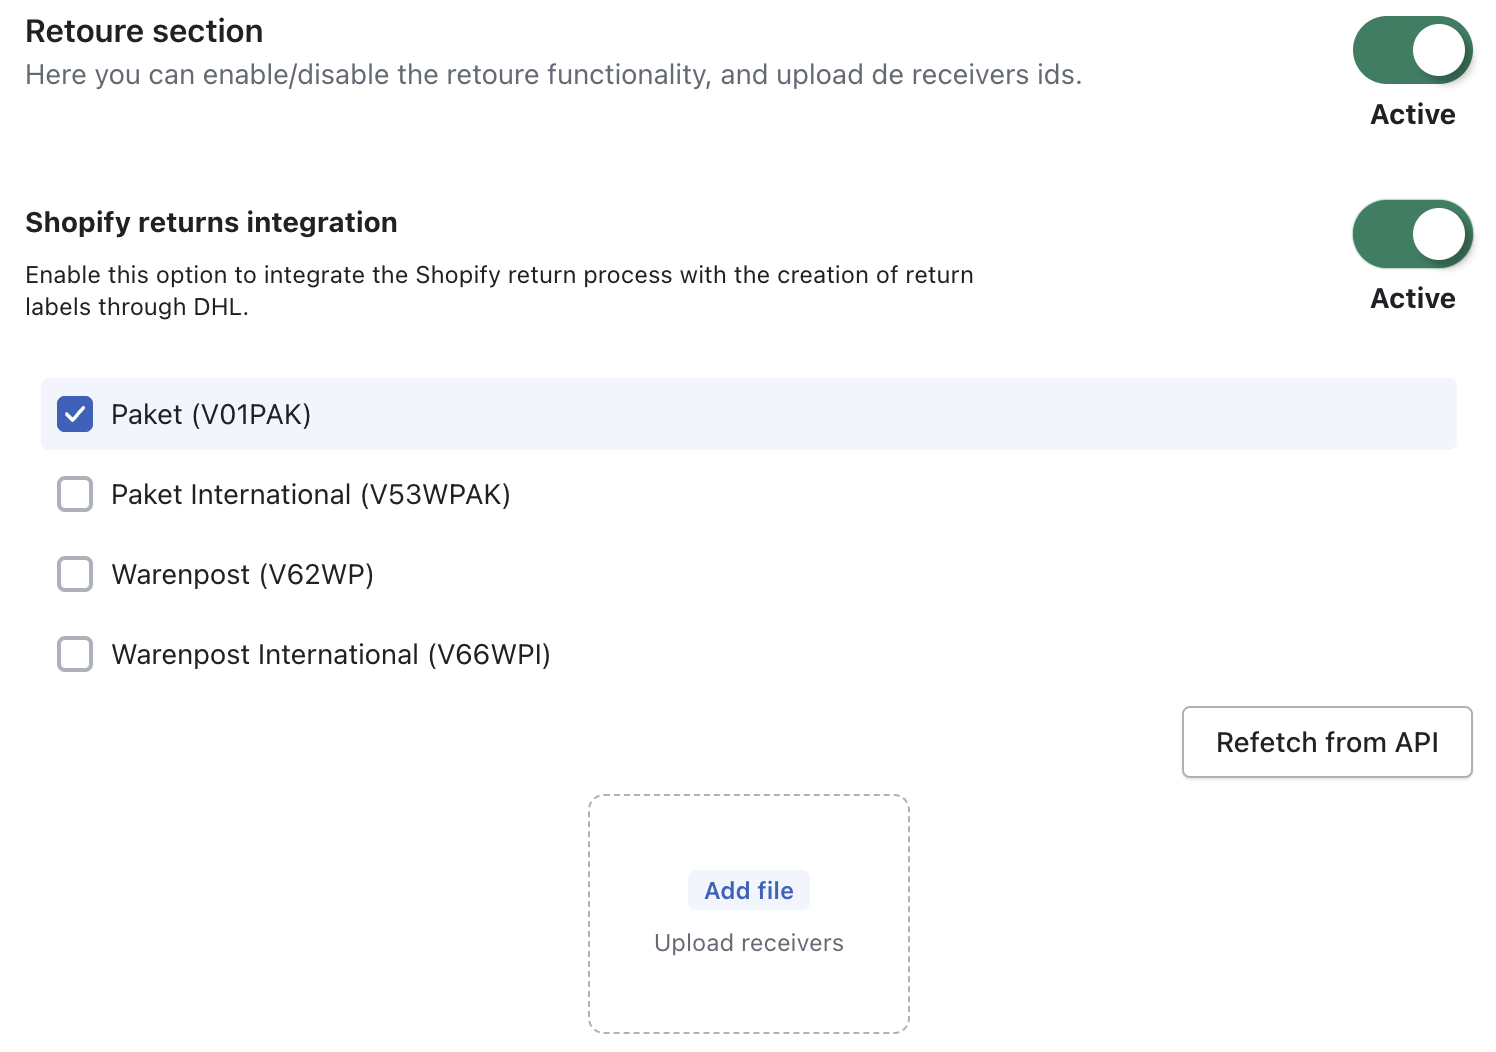
- Setting up the Return Recipient/ReceiverIds.
- When you click on
Fetch again from the API, the required Recipient/ReceiverIds will be automatically imported via the DHL interface.

- They can also be imported manually by uploading the Recipient/CSV file that you have exported from the business customer portal.
-> Export recipients and country overview from the DHL business customer portal
- When you click on
The product return must be activated in your DHL business customer account so that you can use it in the app, if this is not the case, you will receive errors later. To activate this, please contact the DHL Sales Department.
- Then click on the bottom of the page on Save.
Shopify Returns Integration
Below is our guide on how to disable the Shopify Returns Integration:
- Log in to your shop and open our Post & DHL Shipping (official) app.
- You are now on the Dashboard page of the Post & DHL Shipping (official) app.
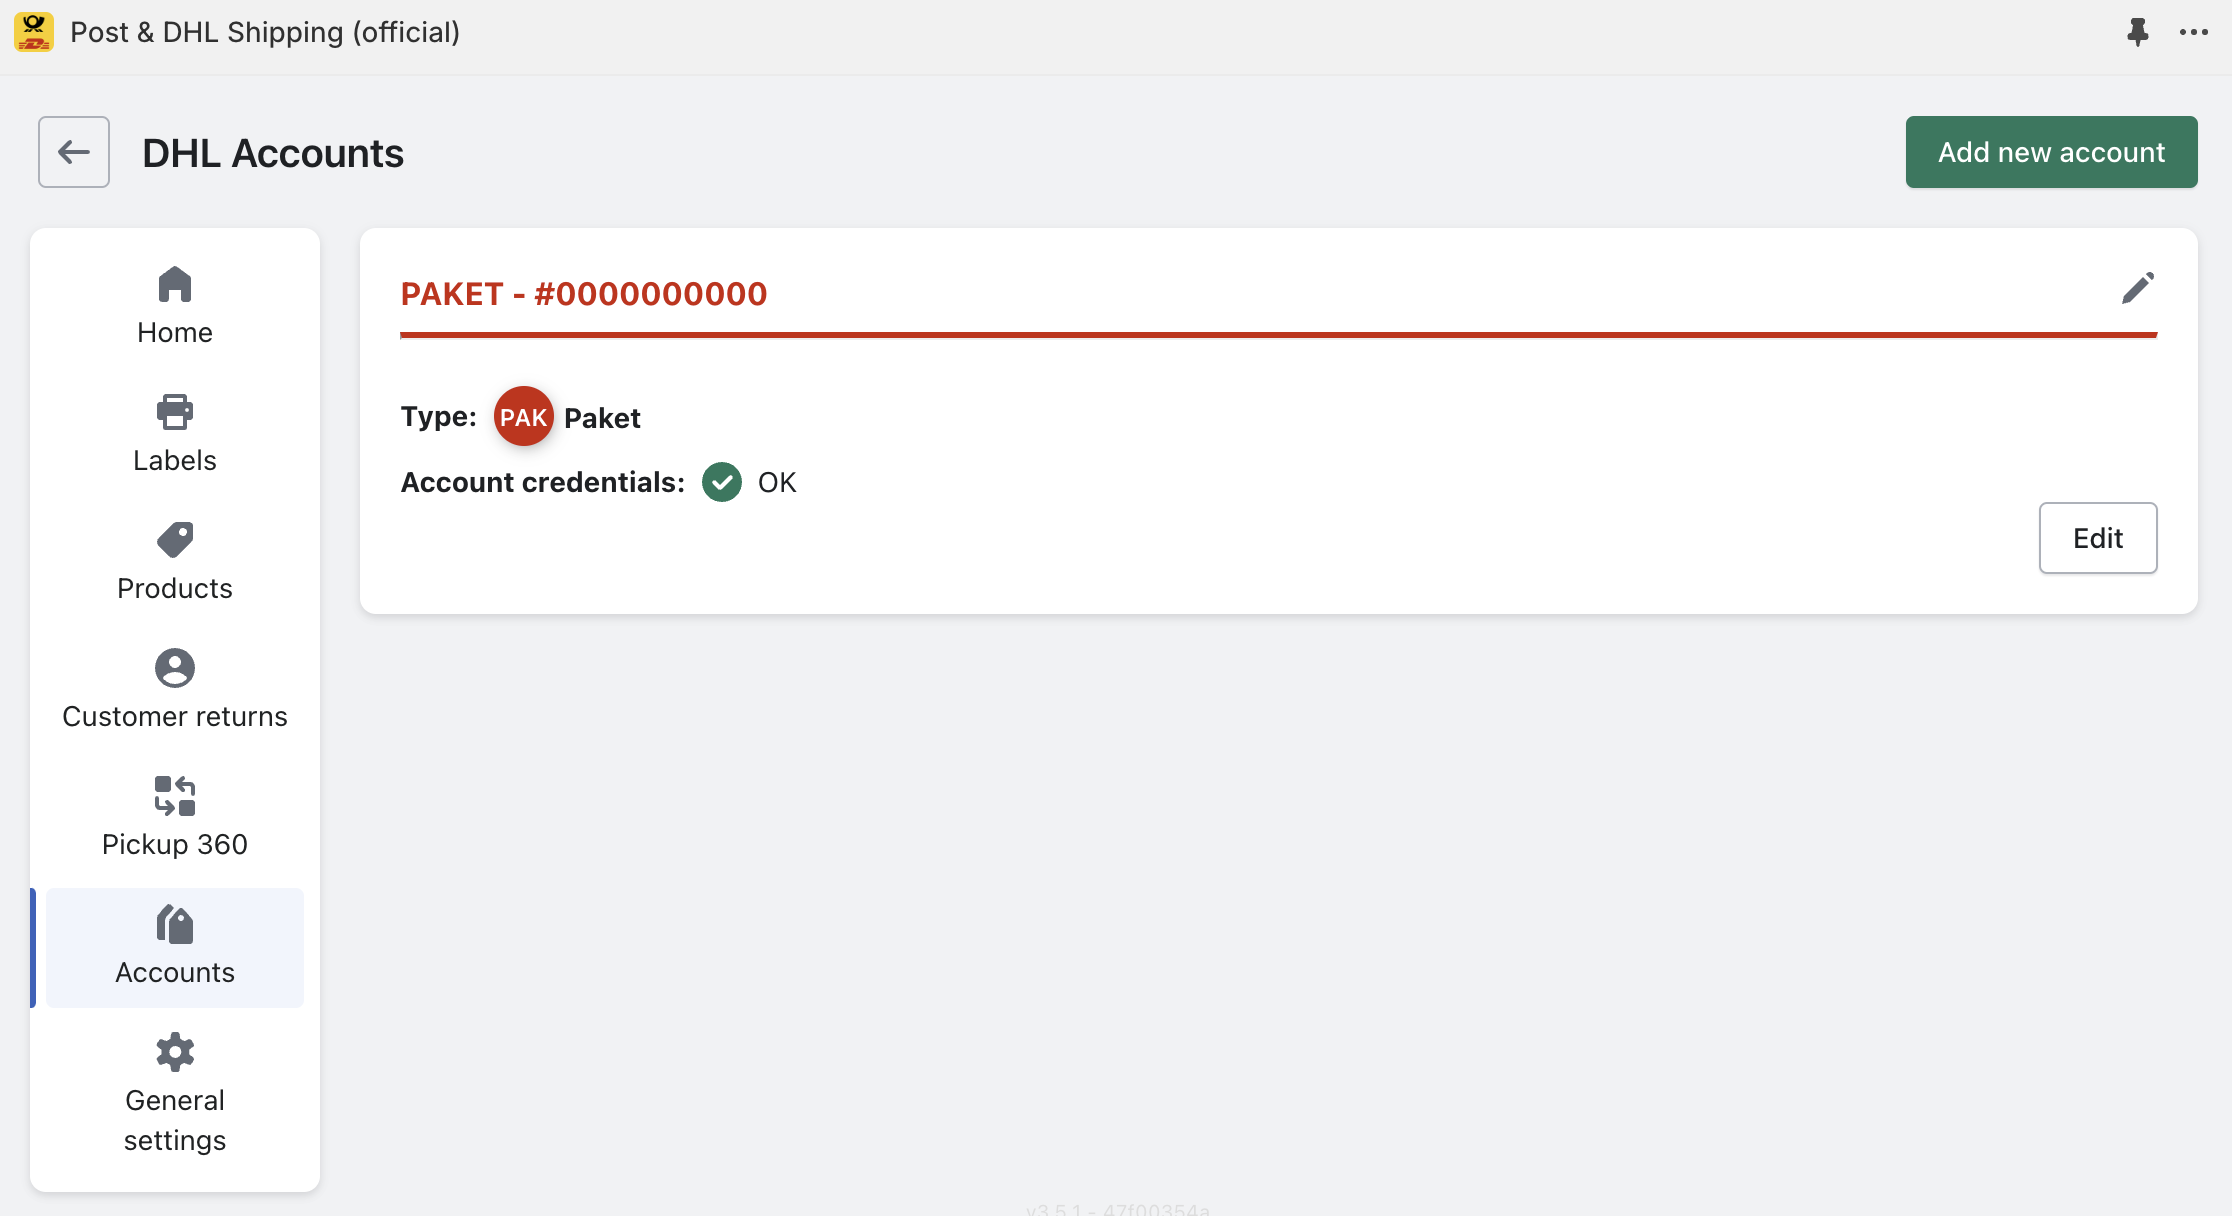
Navigate to Accounts -> Paket - #0000000000 -> Edit.
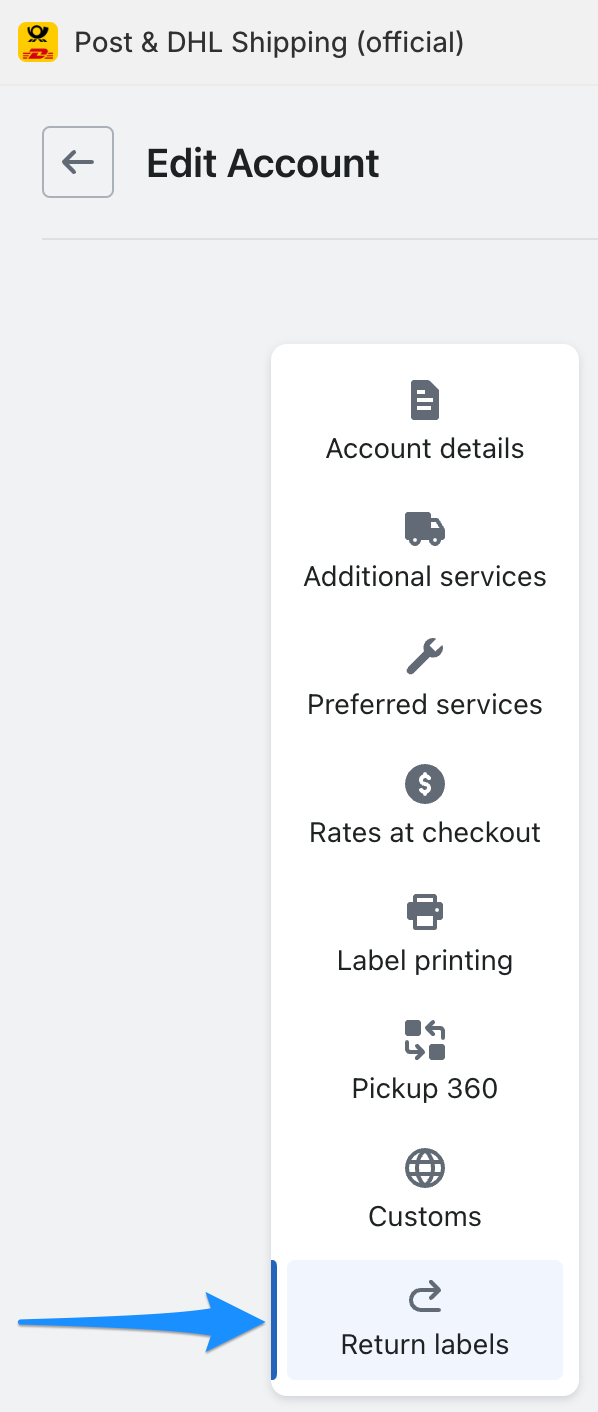
- Now, select Return labels from the left-hand menu.
- Here you will find the setting Shopify Returns Integration.
-> If you set this to Inactive, the Shopify Returns Process will no longer be created.

Create return label
- To create a return label. Go to the order for which you want to create the label. However, a shipping label must have already been generated for this order otherwise, this function is not available.
- Click on Create Label now you can see the shipping label.
- Scroll down to the bottom of the page and click on Create Return Label.

- Now you can see the label you can print or save it.
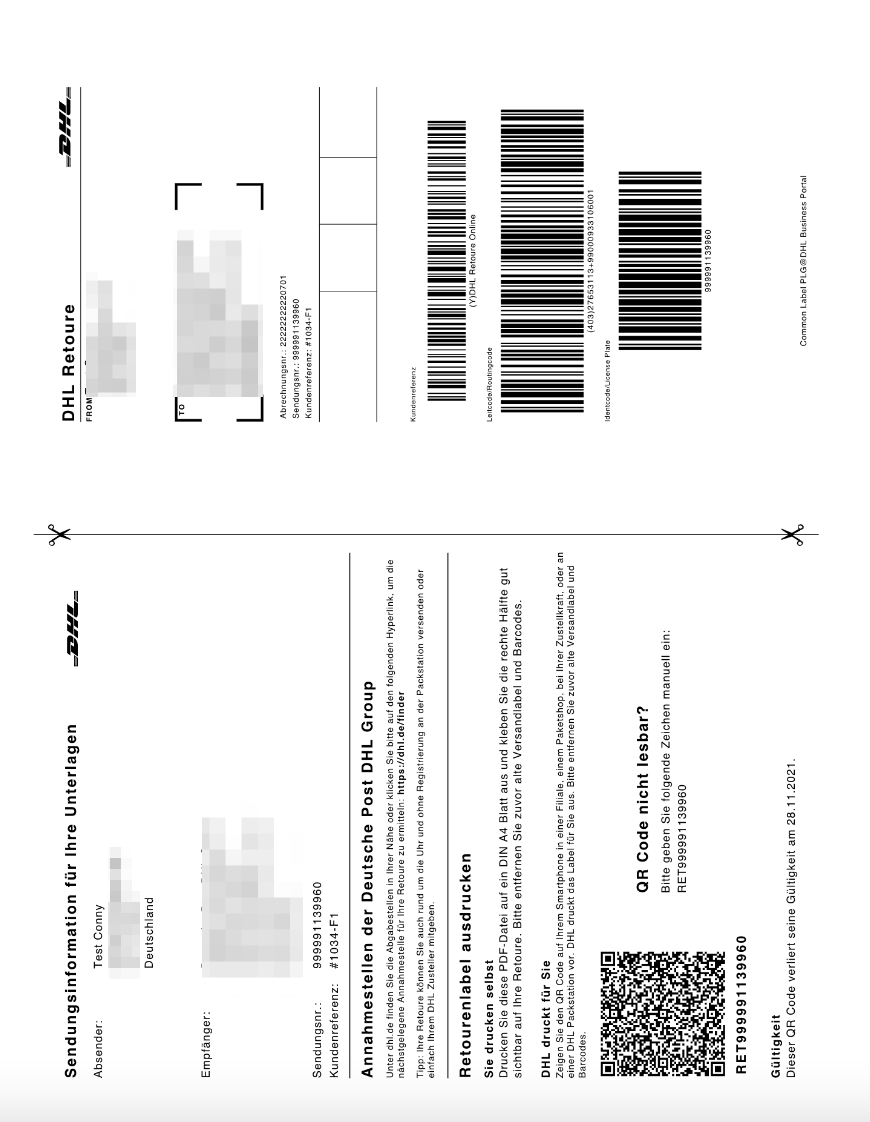
You can now also create international returns, with the requirement that you have already imported the Receiver Id's for the relevant country from your DHL business customer portal.
Export receiver Id’s or country overview from DHL Business Customer Portal
Please follow these steps to get the document.
- Log in to the DHL Business Customer Portal.
- Please select Parcel & goods in the menu on the top and go to Returns. Please click on Settings. As shown in the following screenshot.
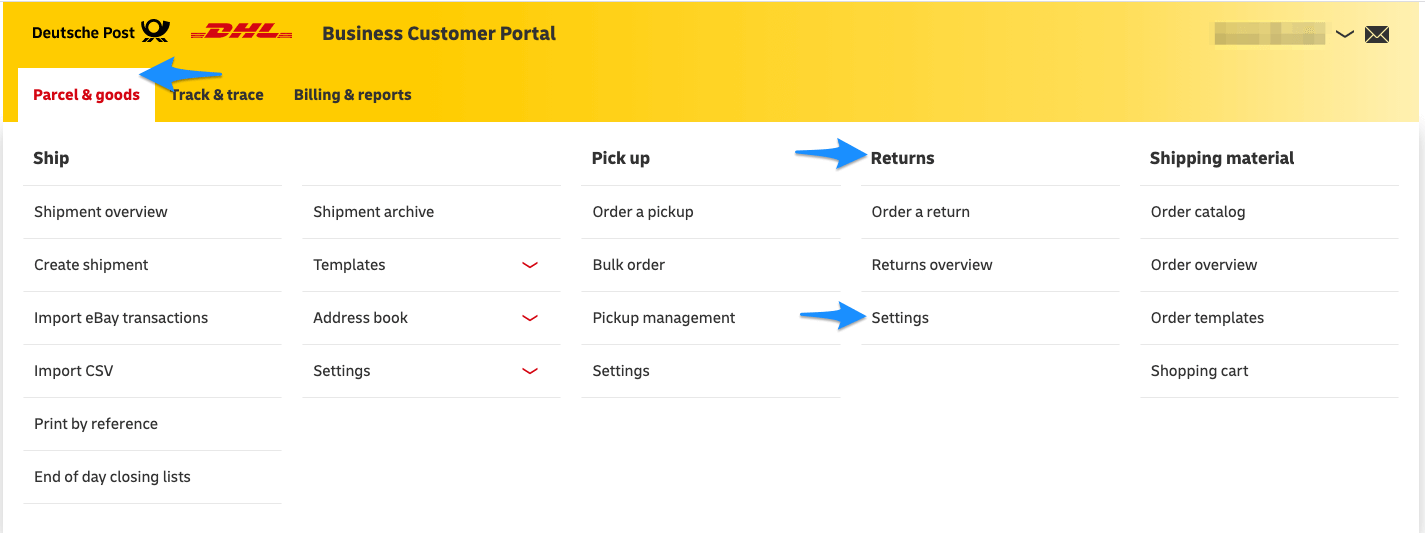
- Now select URL&Receiver Ids.
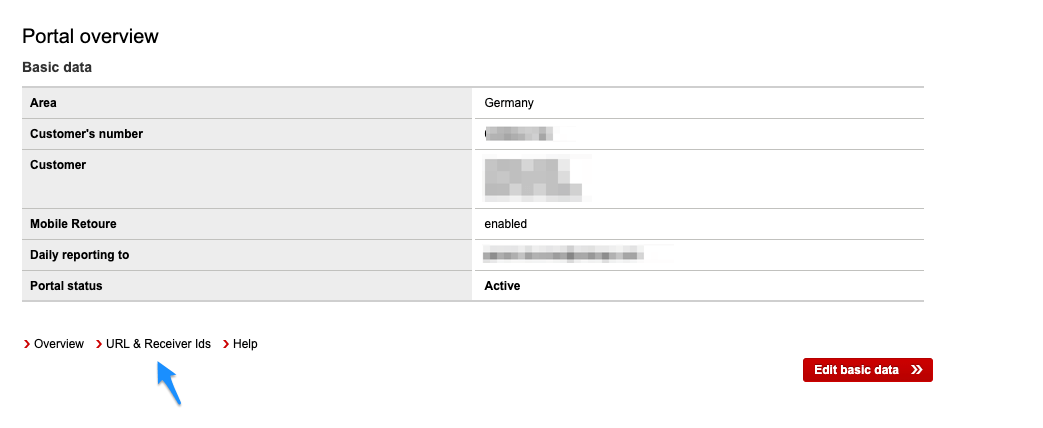
- Please click on Submit to download the CSV document.
Retourenempfängerlinks_2020-XX-XX.csv.
The address to which the product is returned is taken from the business customer portal by importing the recipient/CSV file and not from the Shopify Locations. For this reason it is not possible to overwrite the return address here.